It has been so long since I did a room makeover project and I am just so happy to get back to what I love doing — diy and design! My baby just turned 6 months old and is now starting to crawl! I know it is amazing how babies grow so fast! Since he is growing, the amount of toys he has is also going to grow. So I want to give him a space for him to play, move around and a space for all his toys.
Summer of 2020 we already started on giving his room a major makeover, well at least for the walls. This is what his room looked like after we did a board and batten accent wall and painting a contrast color on top.
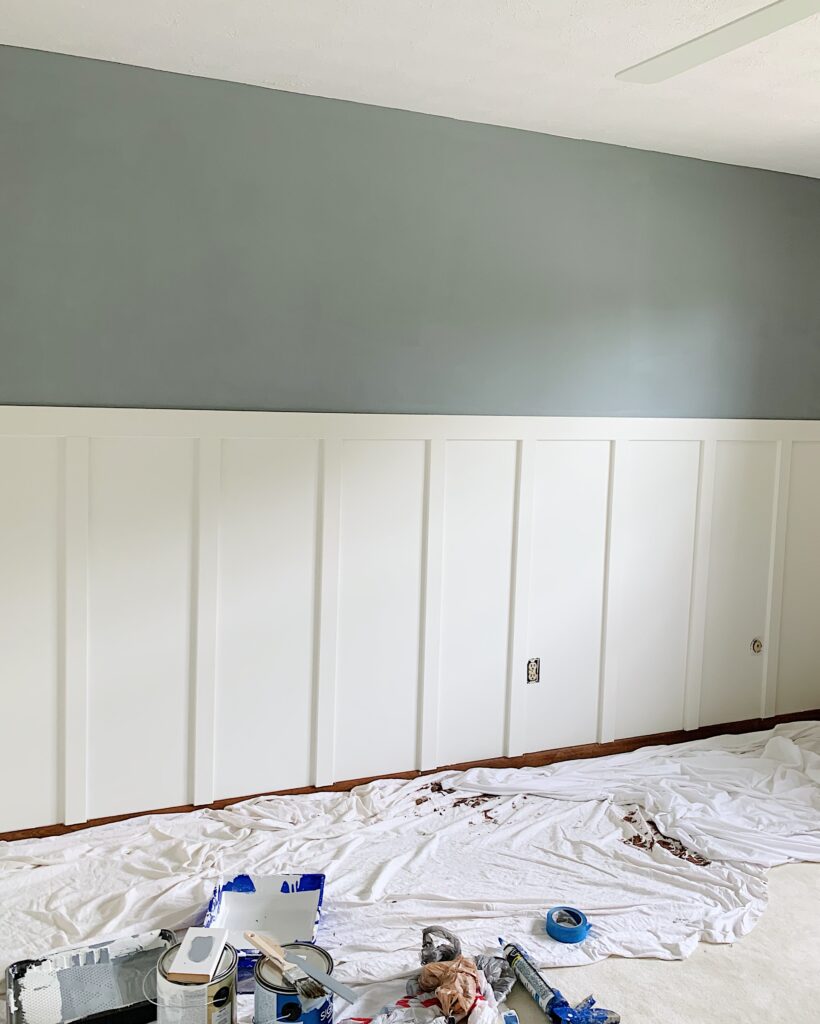

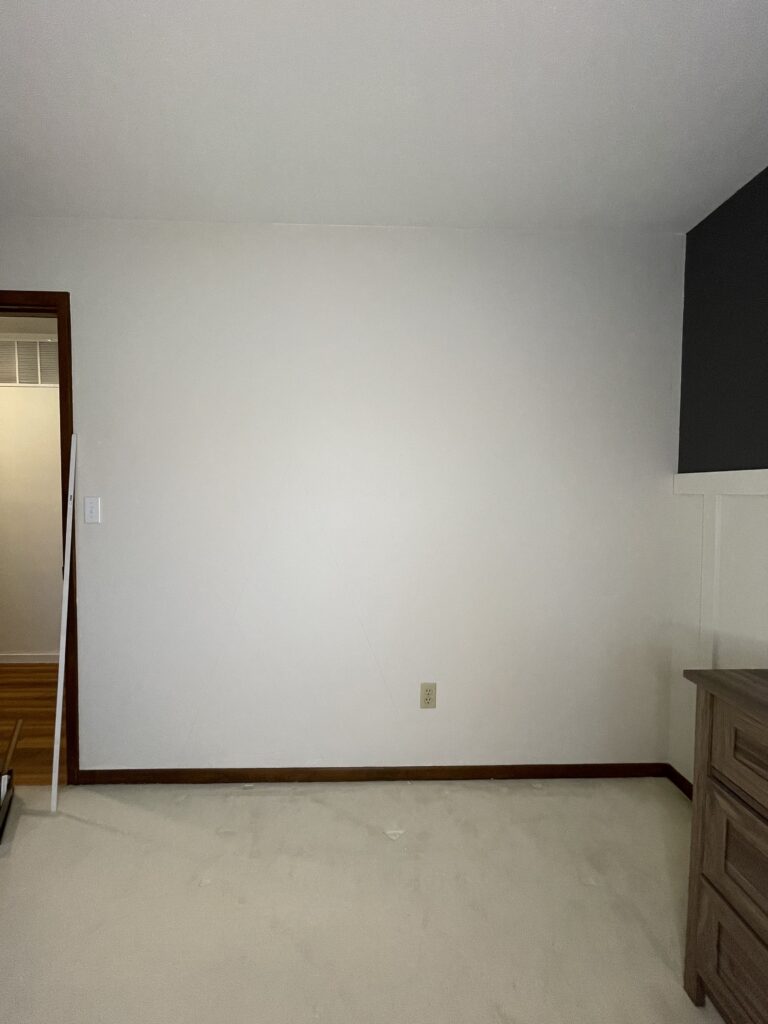
After just 2 days of painting the wall a blue-ish grey-ish color, I wasn’t feeling the color. It looked and felt too bland for me. So I decided to change the color to a darker one!
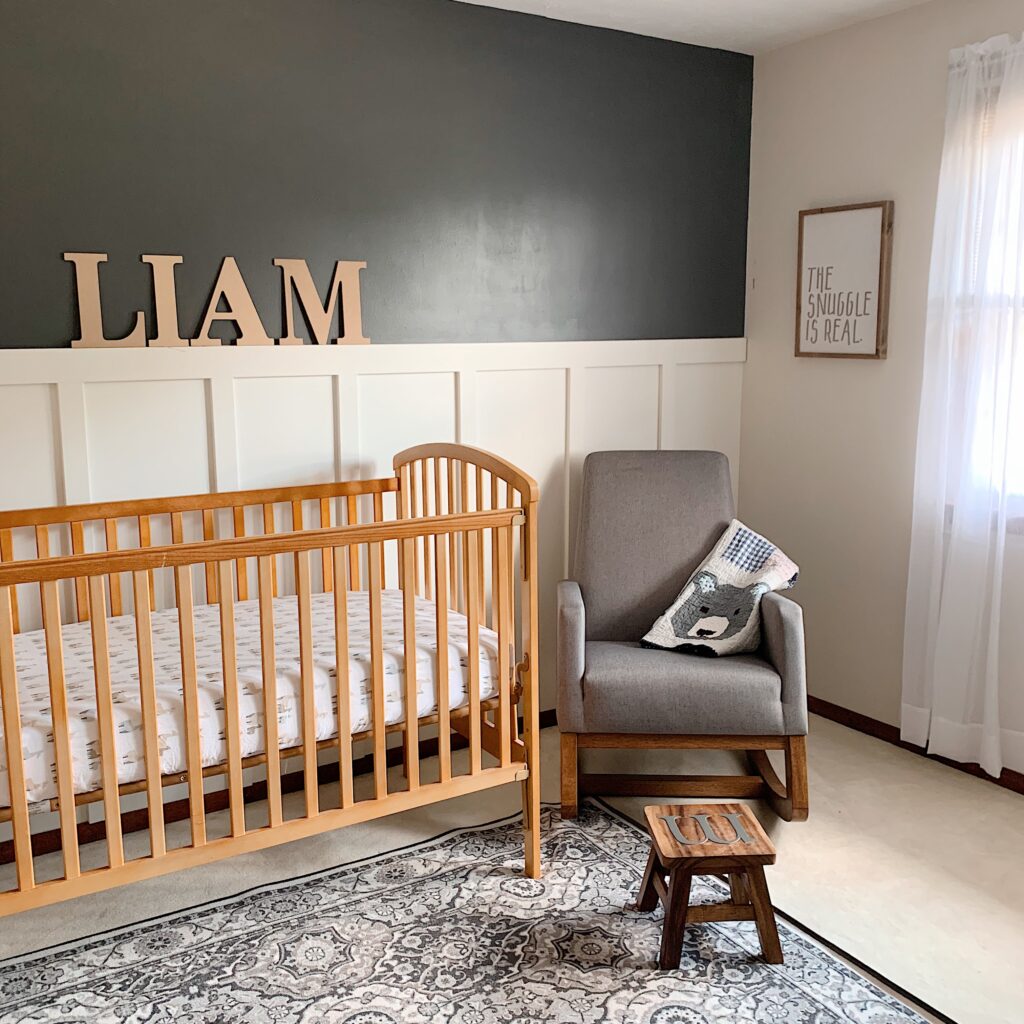
I loved this room so much! I was really into the greys and white and the different wood tones here because I wanted a woodland theme in his room. But that color scheme changed again. I have always wanted green but I was so hesitant to use that color in his room because I already used that green color in our office nook shiplap wall project. It would look redundant and the design looked pretty similar.
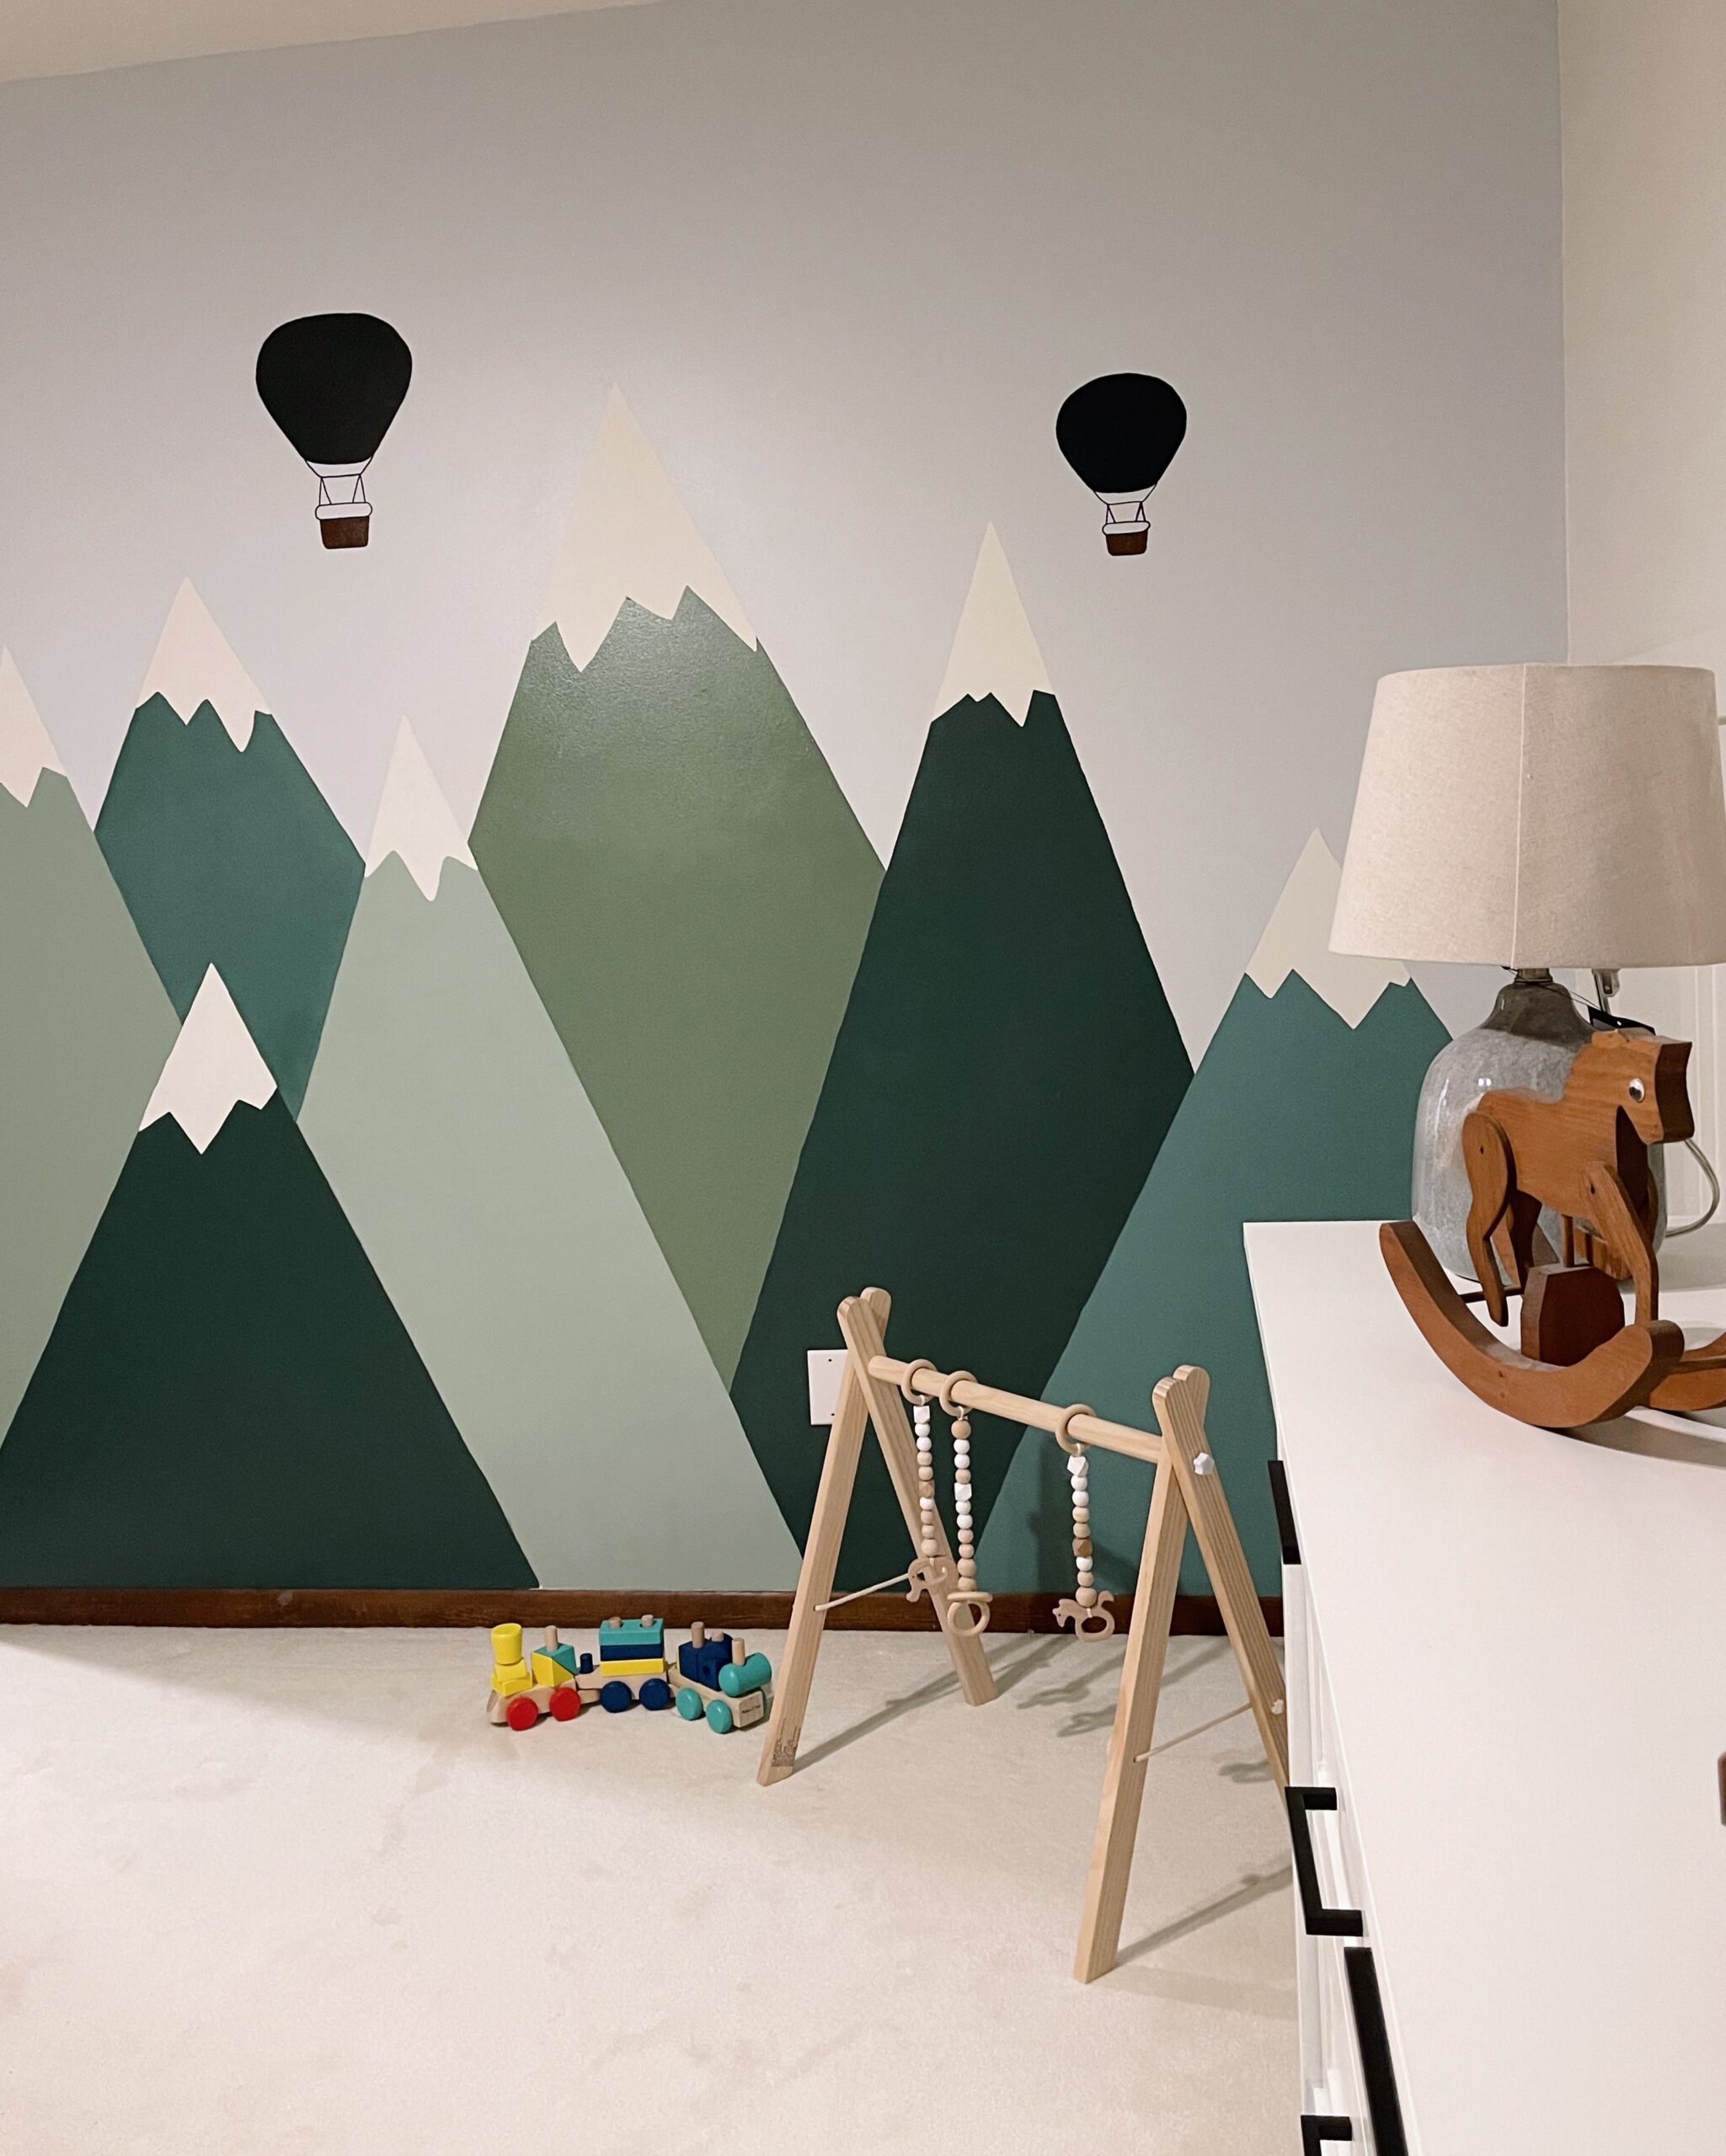
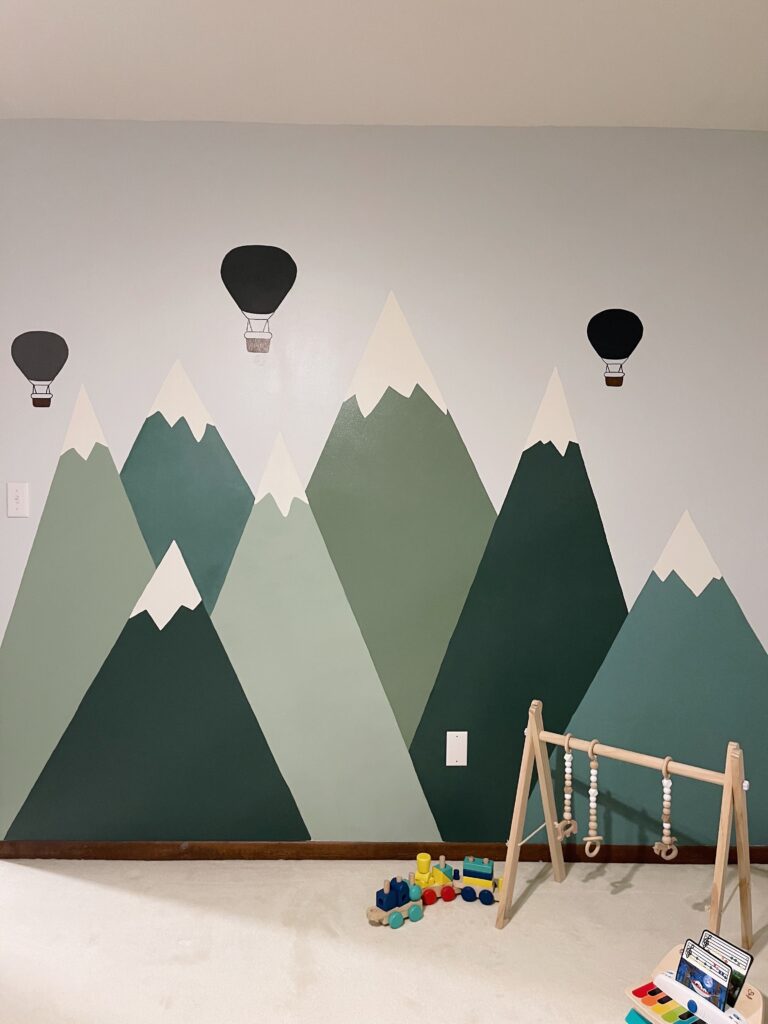
Months passed and I spend so much time in this room and on that rocking chair. I knew the room needs more than a dark colored paint. I really wanted to stick the woodland theme so I decided to do a mountain wall mural. I was looking through inspirations online and I found the perfect art and color scheme that would be perfect for my theme!
I started making the design in my head and then made a mood board of what I want the room to look like.
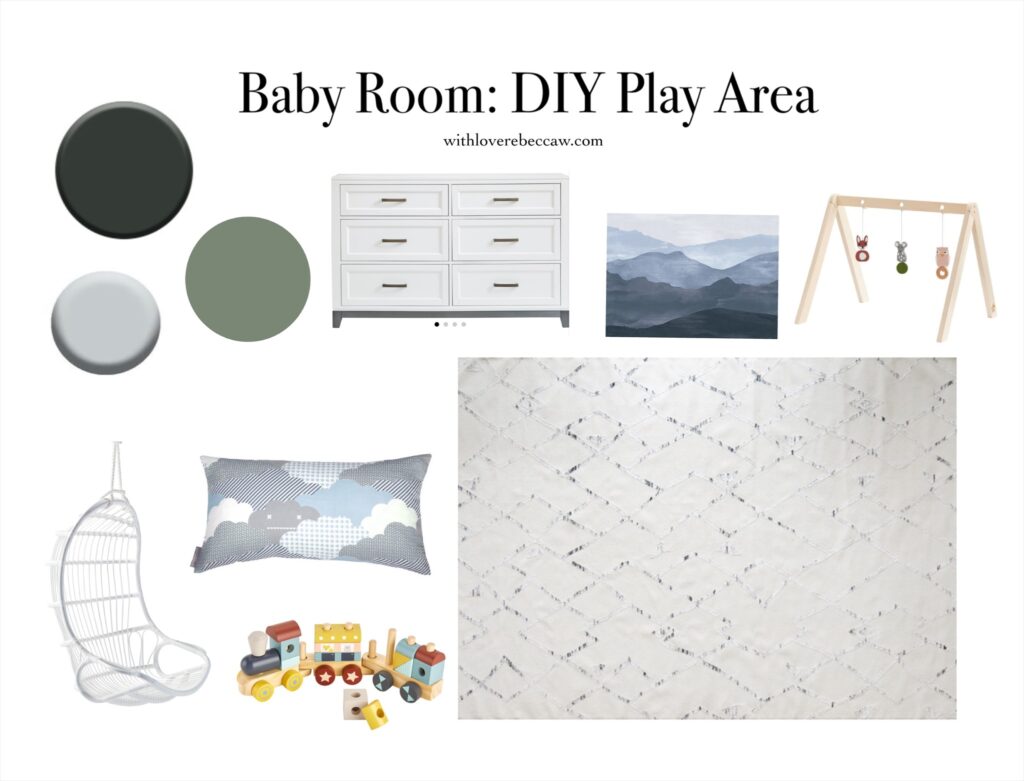
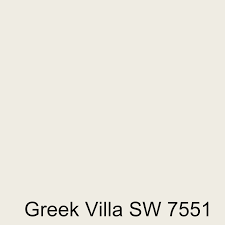
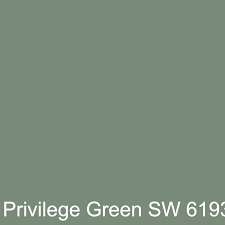
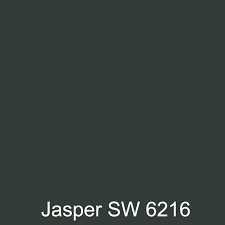
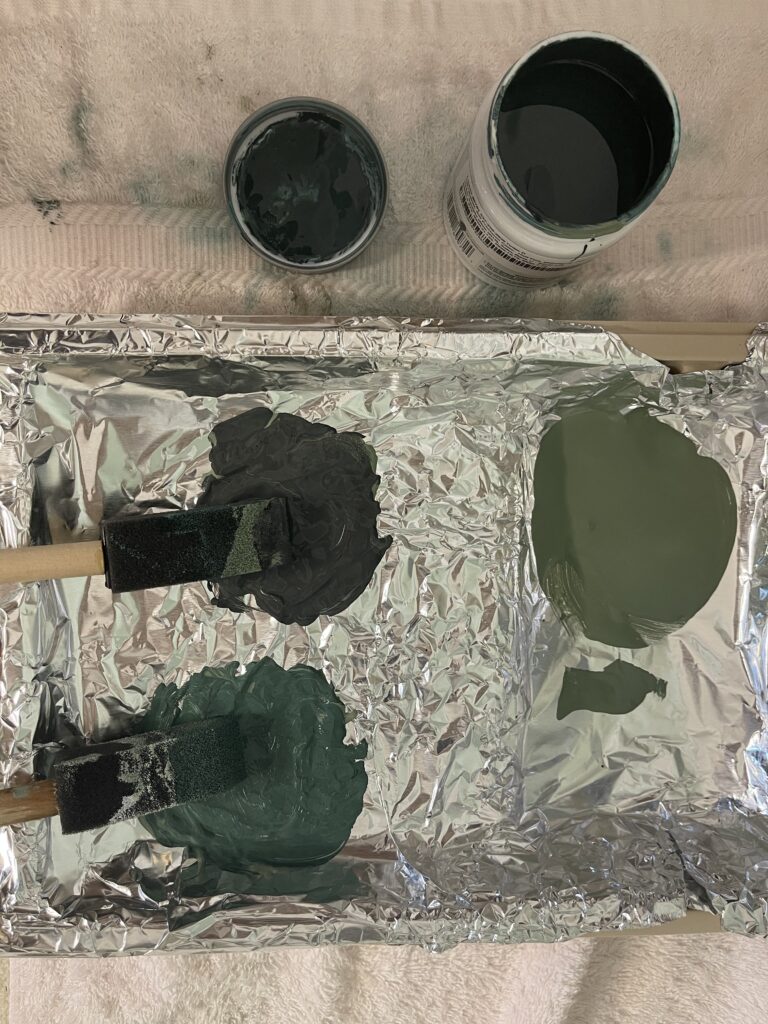
I wanted to use greens and some light blues for the mural. I only had three kinds of paint on hand: Greek Villa by SW, Privilege Green by SW and Jasper by SW.
I didn’t want to get more paint colors so I just mixed them to get different shades that I want! It was also super fun that way.
WALL MURAL MATERIALS USED:
- Greek Villa by SW
- Privilege Green by SW
- Jaspar by SW
- 3 paint rollers
- 2″ angled paint brush
- craft foam brush
- painters tape
- ruler and pencil
Let’s jump right into painting! Although this took awhile because I only painted when baby was on naps during the day and of course painting through the nights, but I really had so much fun mixing colors and watching them come together.

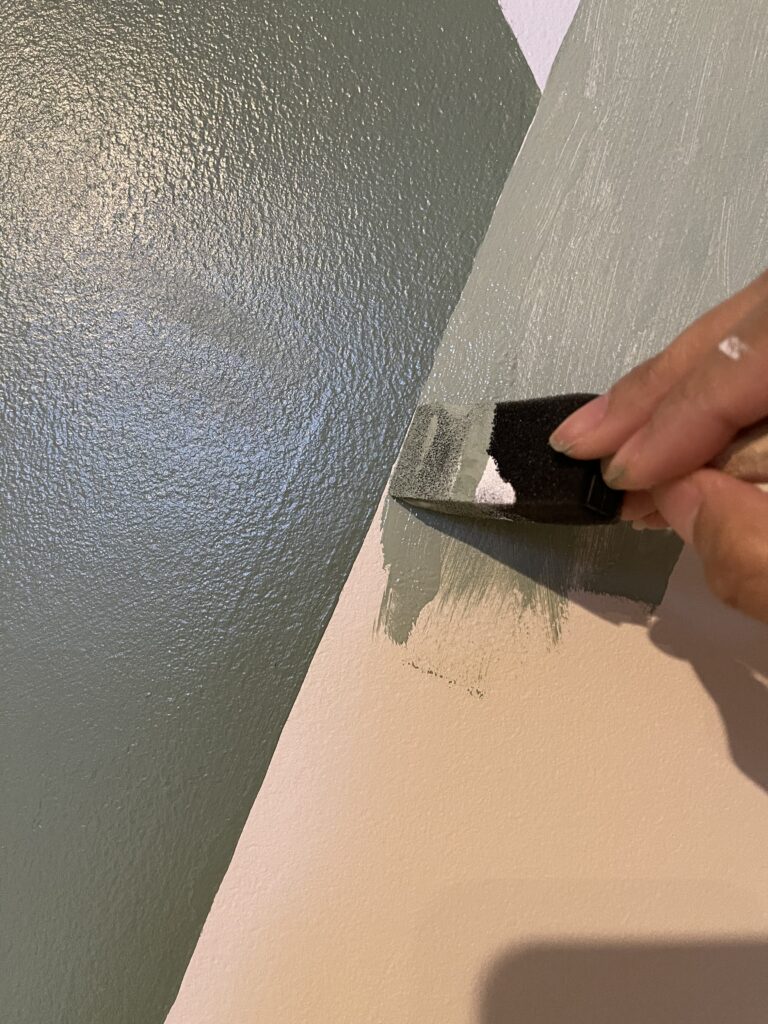
Fast forward to two weeks when I “almost” finished the mural. I needed to add some details to it. However, I was not liking how some colors aren’t connected with the others like that dark green paint or that blue green color, so I had to balance it all out.
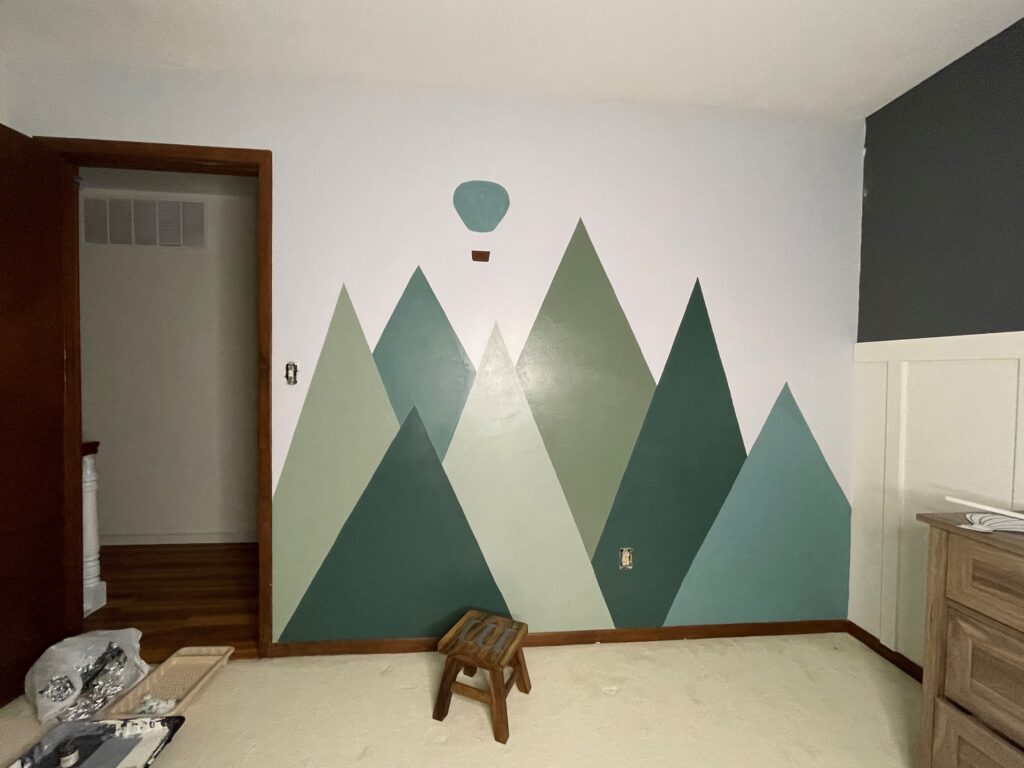
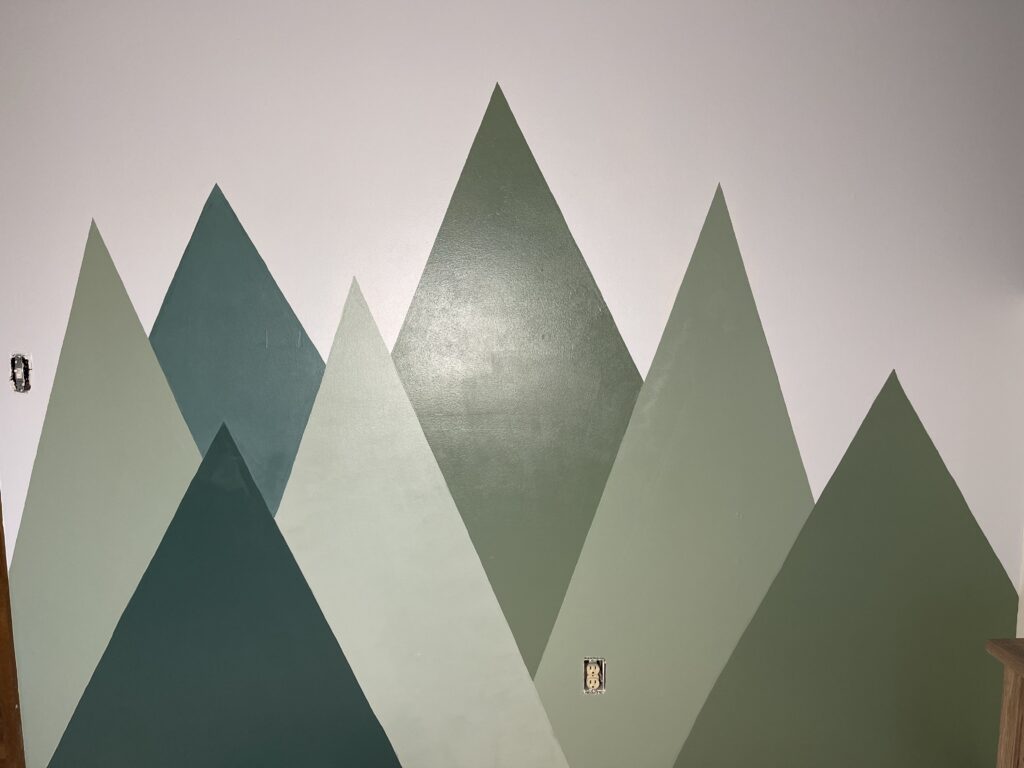
Changed up the colors of the other mountains on the right and now it is perfect! This is a wider view of the wall and that dark grey wall just didn’t match with the mural so that needs to be white.
I added a few details here and there like hot air balloons and snow on the tip of the mountains. And it is looking pretty amazing!
Now, let’s head on to the dresser makeover!
MATERIALS USED:
- Rustoleum Stain blocker Primer
- Foam rollers for cabinets
- 2″ angled paint brush
- Rustoleum Clear Durable top coat
- 6″ drawer handles
- Drill and drill bit
- Drawer guide template – this will help you tremendously in getting your drawer handles align
- Wood filler or Spackle
- 220 grit sandpaper
STEP BY STEP TUTORIAL:
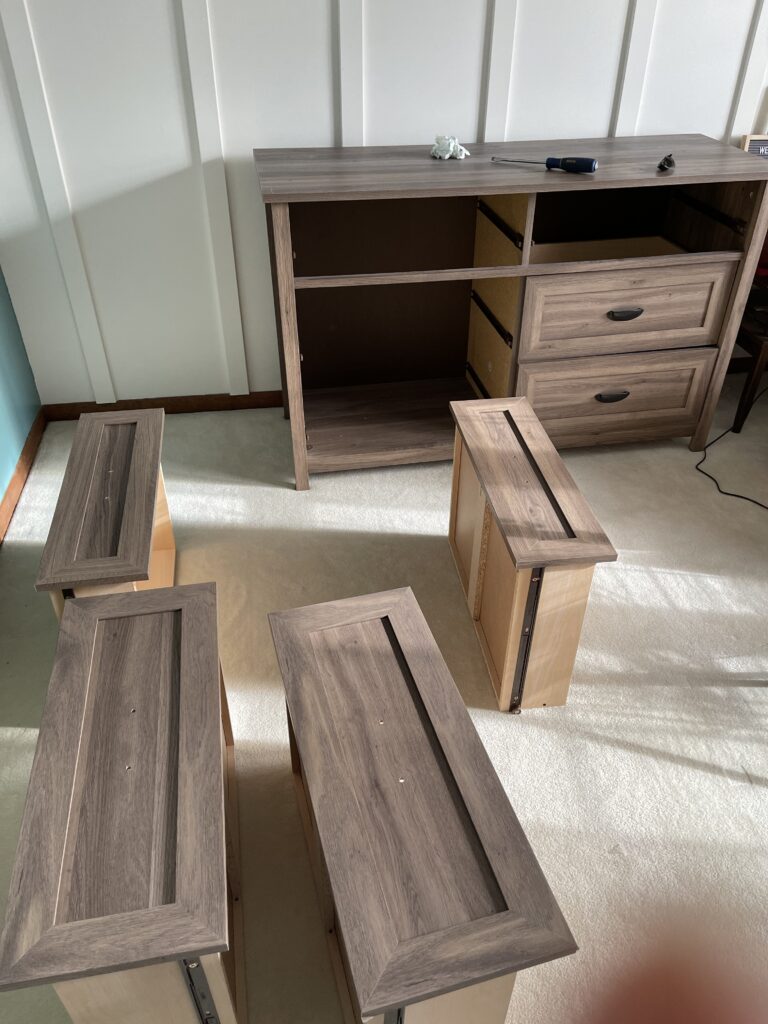
- First, take out all the drawers and drawer handles (if you’re planning on changing them up)
- If you’re changing up the drawer handles of the dresser, prepare the wood filler or spackle and fill the drawer holes. Use a 220 grit sandpaper and sand down the excess, also to give it a nice smooth finish.
- Then sand down the dresser including the drawers with the same 220 grit sandpaper.
- Prepare your Rustoleum stain block primer and give it a nice good coat. This is my favorite all in one primer. I’ve used it in most of my projects — painting our stair railings, wood doors and stained closet doors.
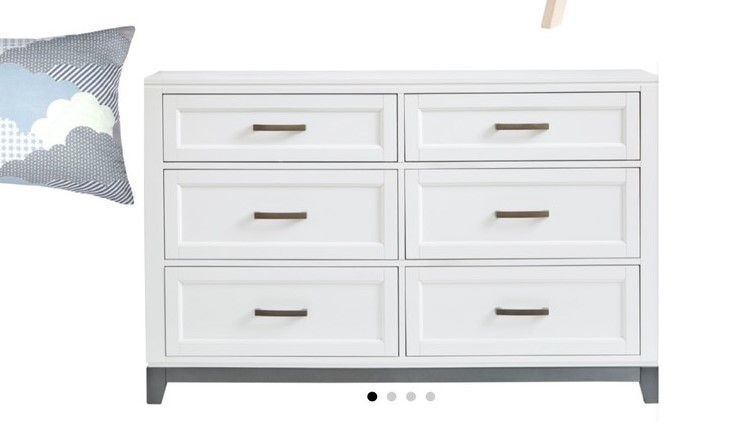
- Now start painting the dresser with the paint color of your choice.
- And then give it a good spray of Rustoleum clear top coat. This helps the paint to stick on the surface and not be chipped, especially when you open and close the drawers.
- Lastly, install the new drawer handles. The drawer guide template will really help you in aligning those new drawer handles. Mark where you want the new holes will be, drill into them and attach your new drawer handles!
Voila! There you have it! A new and fresh looking dresser!
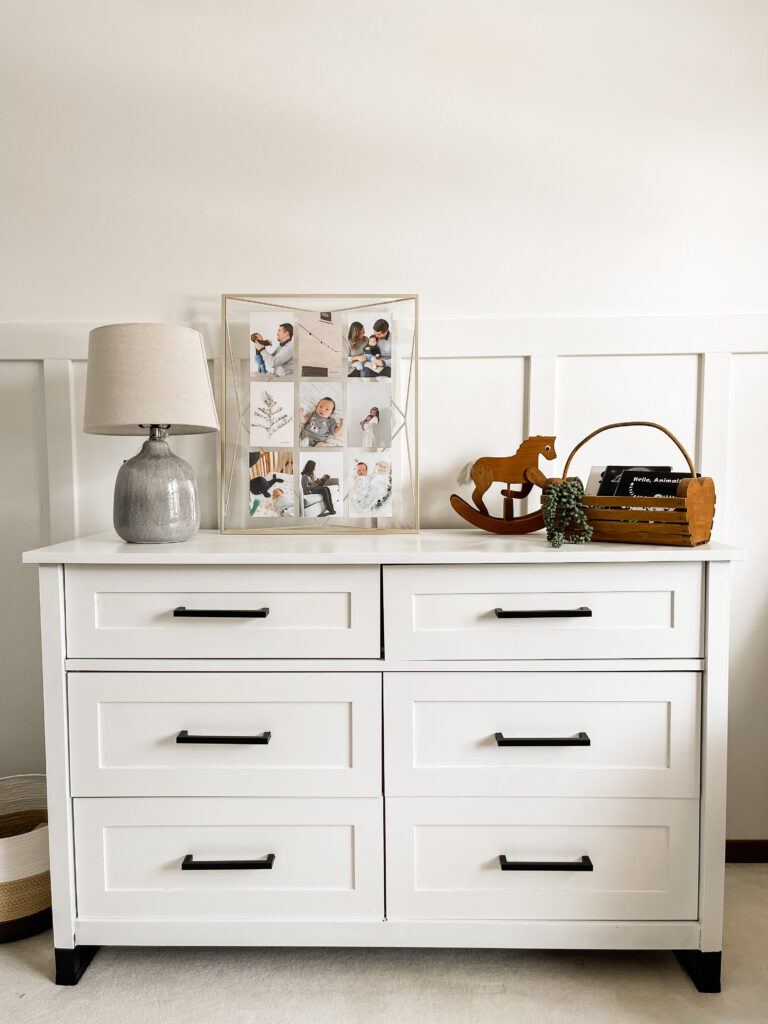
Also, I just want to add that I painted the dresser legs black to match with the new drawer handles! It looks so much better now — so clean and gives a really modern look!
It is time to wrap this project up! Here is what the room looks like now!

I cant believe how stinkin’ cute this room turned out! This has been a project that’s so special for me because it’s for my little one and I hope soon when he’s a little older, he will like this and appreciate the things his mama did for him. It always amazes me how a vision turns into reality when you work really hard for it. Our mind is truly wonderful. Indeed, when you put your heart and mind to it, you will achieve great things.
See you on the next one!